
The mark on your ceiling and the hole in the roof are seldom in the same place. Here is how a leak is traced on Montpelier's Victorian roofs, and which checks are safe to do yourself from indoors.
Finding a leak is detective work, and the obvious suspect is often innocent. Water follows timbers, felt and plaster before it drips, so the spot you can see may be a long way from where it came in. On steep Montpelier streets, with tall chimneys and bay tops everywhere, the list of suspects is a long one.
Start from the inside, not the roof
The best clues are indoors. Note which rooms are affected, whether the mark sits by a chimney breast, a bay or an outside wall, and whether it appears in heavy rain, in wind-driven rain or after the rain has stopped. Those patterns narrow the search long before anyone goes near the roof. Keep a short log with photographs and dates, and sketch which rooms are involved.
A loft look, where there is a safe one
Where a hatch is easy to reach from the landing, a torch look can reveal a good deal without stepping into the roof space. Do not walk on joists or ceiling boards, and leave the roof itself alone. If the loft is full of belongings or has no easy hatch, leave it for us rather than moving things around.
- Pinpricks of daylight coming through the covering
- Dark, damp or stained timber and felt
- Wet insulation or drip marks on rafters
- Rusty nail tips with water beads on them
Why chimneys and bays come first
Older Victorian roofs have many junctions, and junctions are where leaks start. Lead flashings round tall chimney stacks, valleys between roof slopes, bay roofs and the abutment against a neighbour's wall all rely on small details that age and lift. Coverings can slip or crack as well, but a plain stretch of roof is quite often not the cause of what you see inside.
How we trace it properly
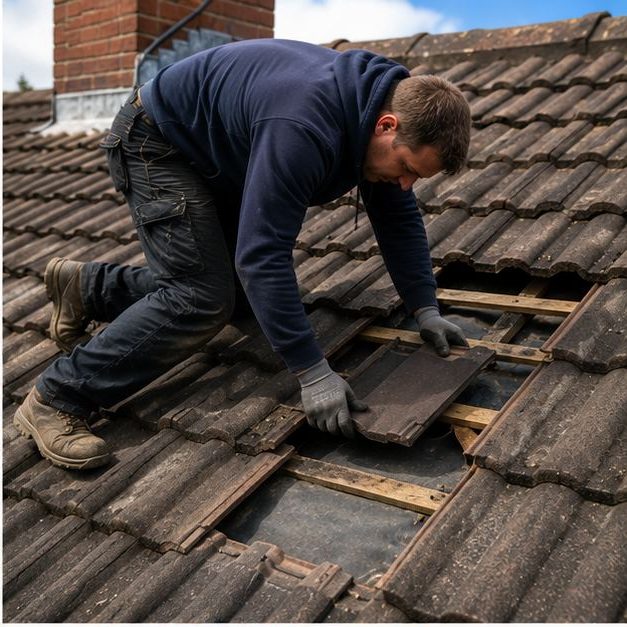
We work from the stain back up the line of the roof, looking at the covering, the flashings, the ridge and the verge, then check the underside from the loft where we can. Water is followed along battens and felt to the real entry point. Where the cause is unclear we say so, rather than guessing, and may stage the work so you are not paying for a repair that misses.
- Covering checked for slips, cracks and gaps
- Flashings and valleys inspected at close range
- Ridge and verge looked at for failed bedding
- Gutters and downpipes checked for overflow
Tight access and what it changes
Narrow streets and steep gradients can make reaching a high roof harder, and some roofs need scaffold or a tower to be inspected safely. We plan that before we arrive, so the visit is a proper look rather than a glance from the pavement. If the roof is shared between flats, it helps to have the other occupants told in advance so we can reach every part.
Frequently Asked Questions
Can I find the leak by running a hose on the roof?
Please do not. Running water over a roof from above is hard to control, can make the leak worse and means someone working at height. A proper inspection traces the route using the pattern of marks and what we find on the roof and in the loft.
Why does the leak seem to move around?
Water runs along timbers and felt until it finds a low point or a joint to drip from. Changes in wind direction and the volume of rain can make it appear in different places, even though the entry point stays the same.
Is it always the tiles or slates?
No. On older houses the cause is often lead flashing, valley linings, open ridge bedding or the chimney stack. A gutter fault can also soak into the wall and look like a roof leak, which is why the whole picture matters.
Talk to our team about roof repairs in Montpelier
Every roof is different — the fastest way to get an accurate answer is a quick chat with our team.